Document Intelligence
Overview
The Microsoft Document Intelligence Service (formerly Microsoft Form Recognizer) in AIForged uses advanced AI to intelligently extract text, key-value pairs, tables, and layout data from your documents. Leveraging Microsoft’s Custom Layout technology, this service learns the structure of your forms, enabling the extraction of structured data—including complex field relationships—without requiring extensive data science expertise.
Info
Document Intelligence includes a built-in classifier. You define classifications (categories) in Step 2 of the service wizard, and these are used throughout the workflow to ensure accurate document routing and extraction.
Info
While Microsoft Form Recognizer is still available in AIForged, it has been marked for deprecation. It is strongly recommended to use Document Intelligence for all new solutions and migrations going forward.
Possible Use Cases
- Extracting structured data from complex, custom forms (e.g., invoices, bank statements, proof of payment).
- Digitizing and automating manual data entry from paper or scanned documents.
- Supporting compliance, audits, and analytics by transforming unstructured documents into usable data.
- Integrating extracted data into workflows, databases, or third-party systems.
Supported Content Types
- Images (JPEG, PNG, TIFF, etc.)
Info
If your content is in a different format, use the AIForged PDF Converter to generate a compatible file.
Service Setup
Follow these steps to add and configure the Microsoft Document Intelligence (Custom Layout) service to your agent:
- Open the Agent View
Navigate to the agent where you want to add the service. - Add the Document Intelligence Service
Click the Add Service button.
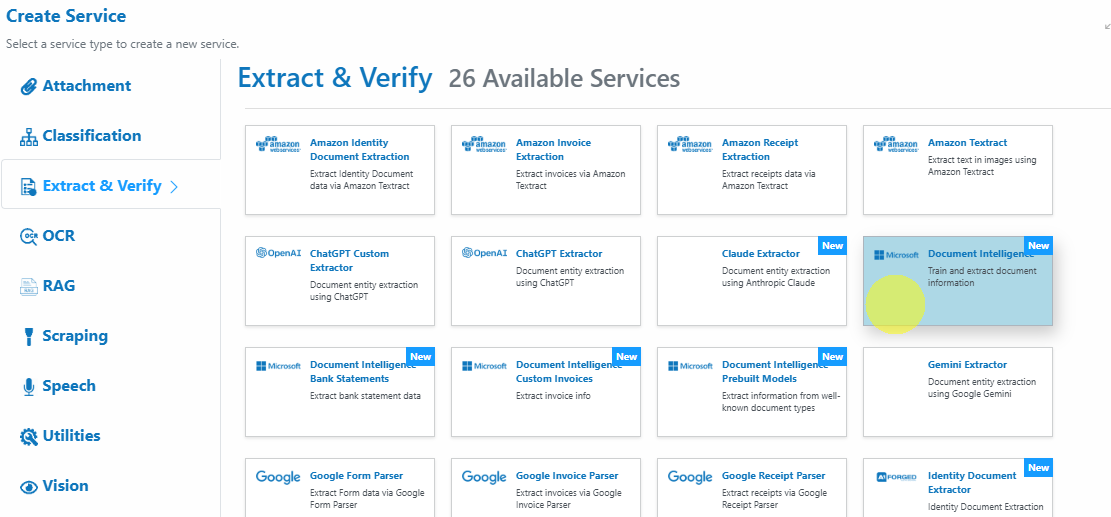
 - Select Service Type
Choose Microsoft Document Intelligence from the available service types.
-
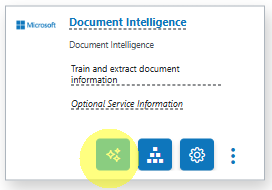
Configure the Service Wizard
Open the Service Configuration Wizard.
or

-
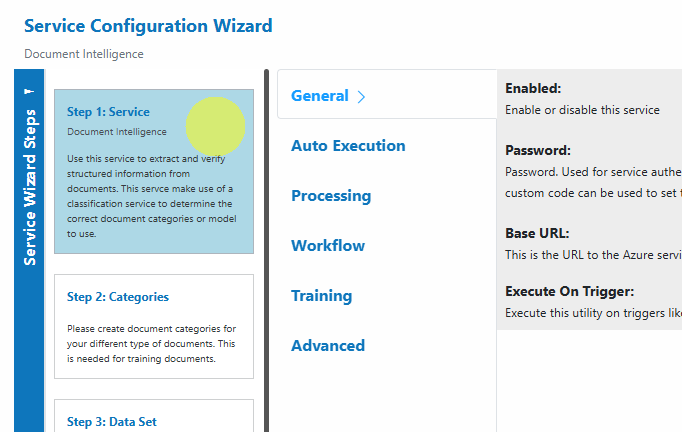
Step 1: Service
Configure the core settings for your service.
Default settings are sufficient for most use cases.
-
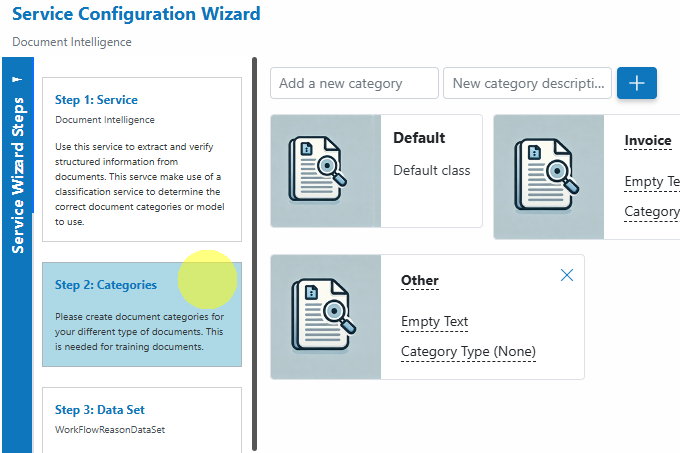
Step 2: Categories
Create document categories for your different types of documents. These are required for training and organization.
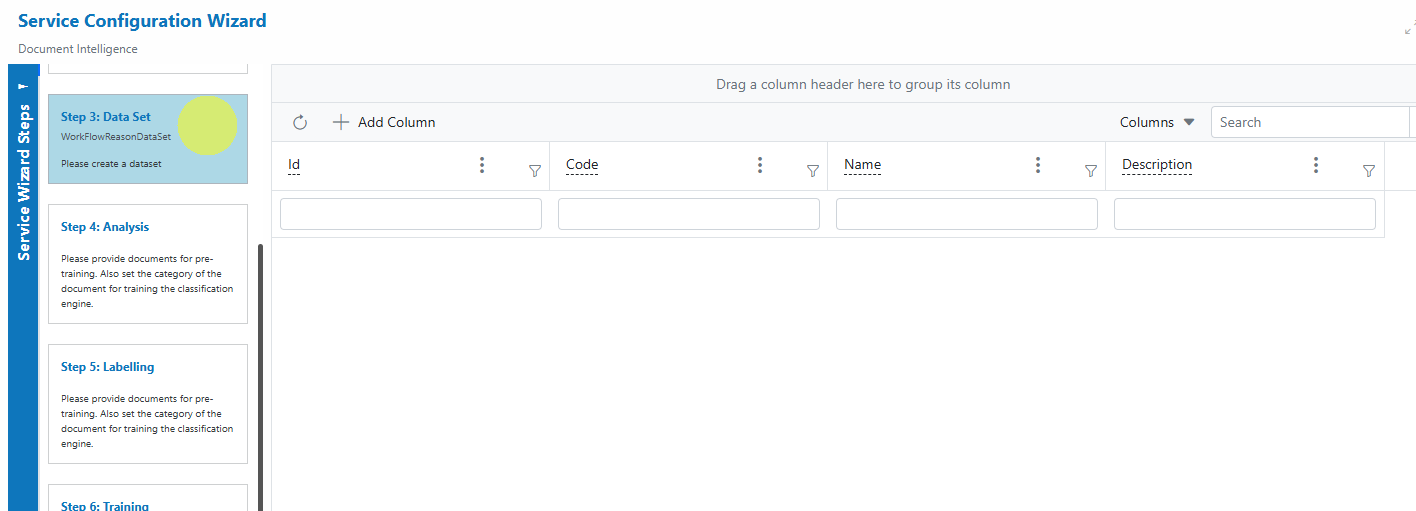
-
Step 3: Workflow Reason Dataset
Populate the dataset with reason codes and information used with Human-In-The-Loop Workflow Actions.
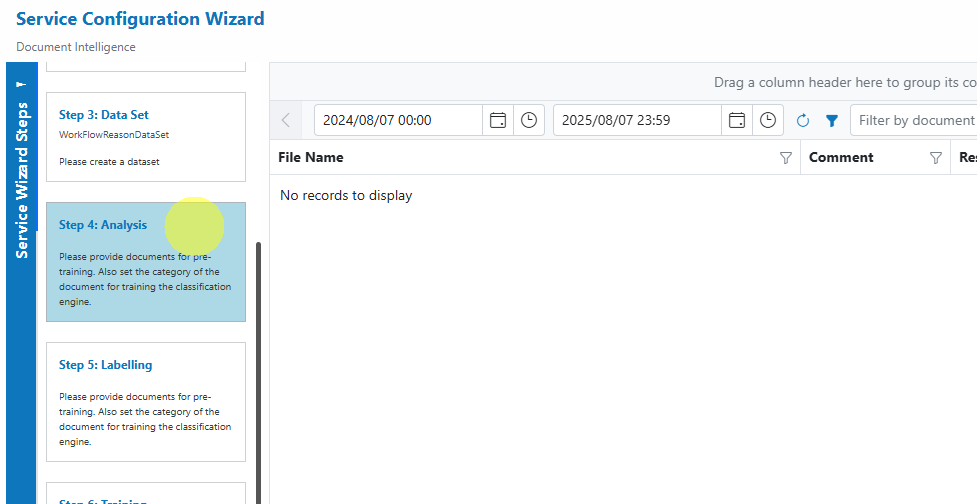
-
Step 4: Analysis
Upload documents for pre-training and analysis. Select the correct category for each document when uploading.
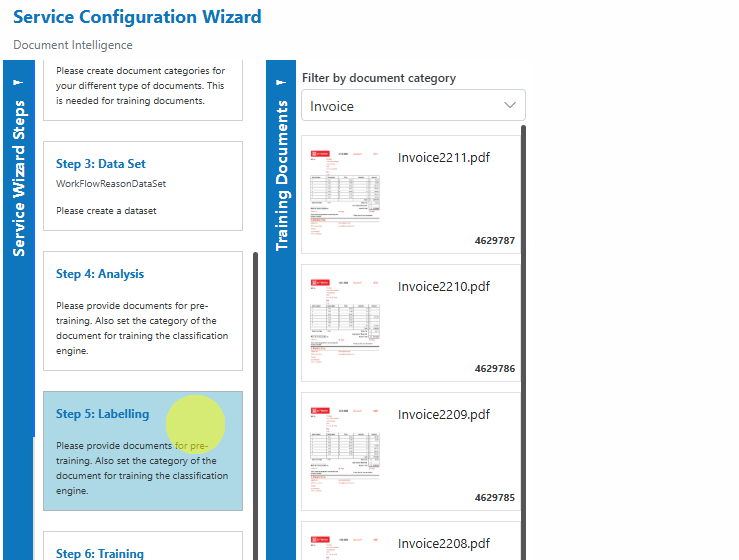
-
Step 5: Labelling
Start labelling fields on documents to train the extraction model.
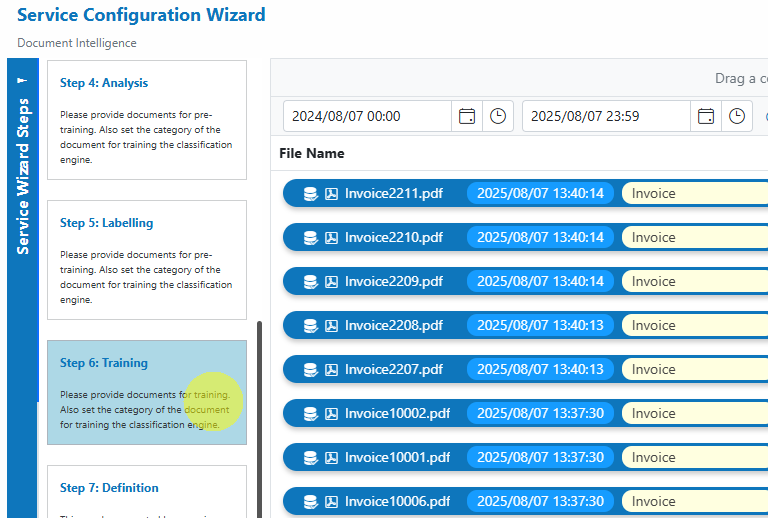
-
Step 6: Training
Train the labelled documents.
-
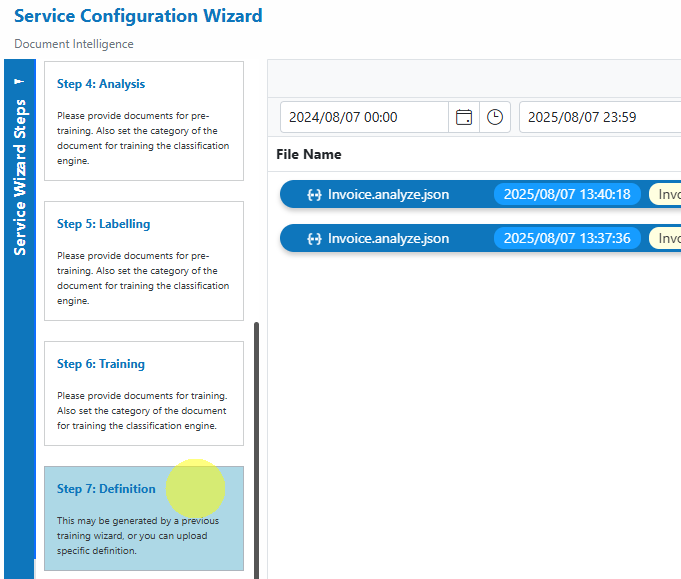
Step 7: Definition
After successful training, a definition document will be created.
-
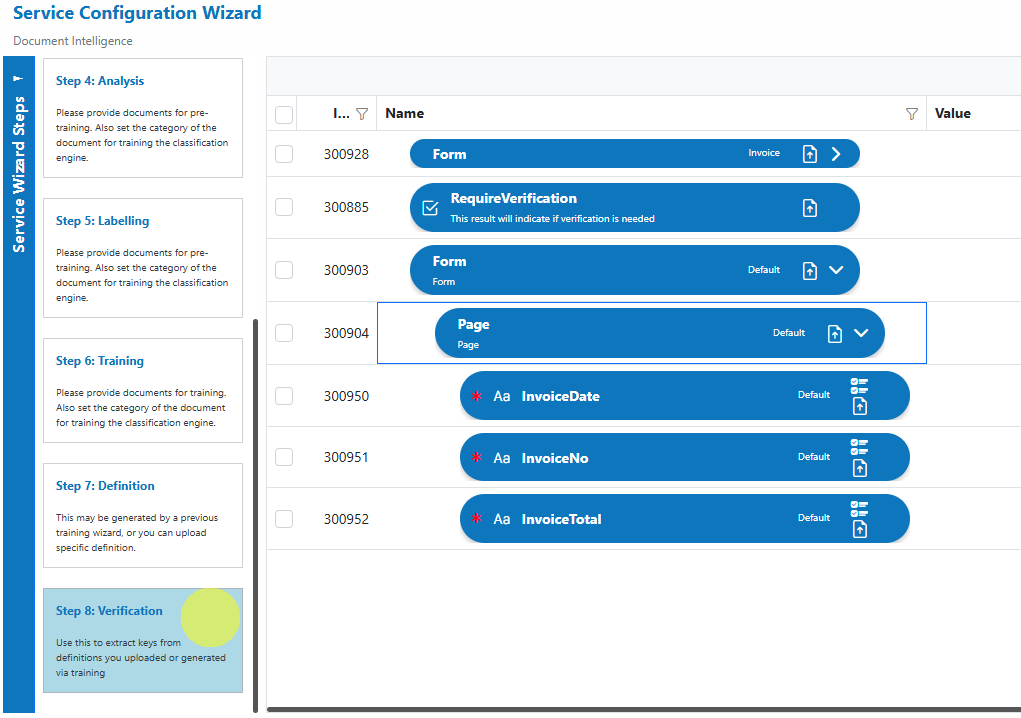
Step 8: Verification
Use this step to verify the keys/fields defined or extracted during training.
-
Danger
Be sure to assign the correct category to each document during upload in Step 4: Analysis. This is critical for accurate classification and model training.
Field Labelling Workflow
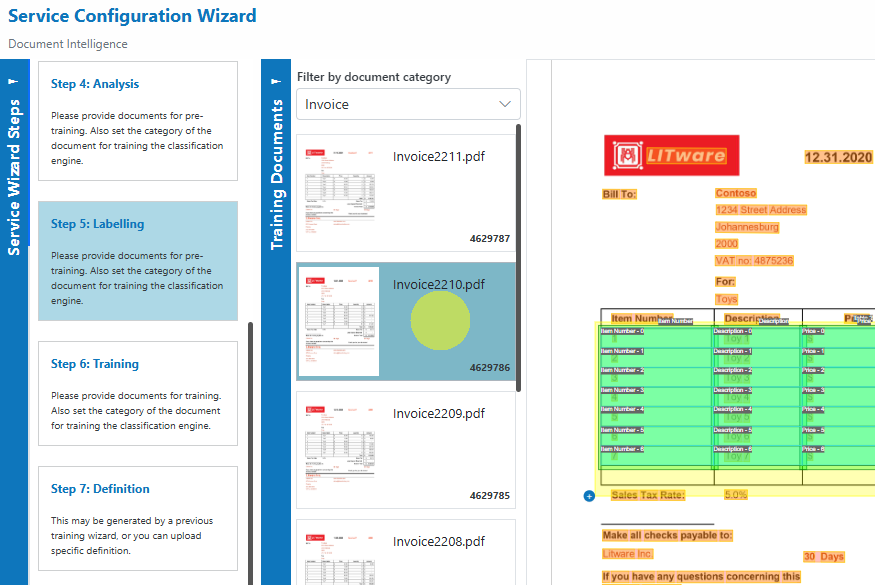
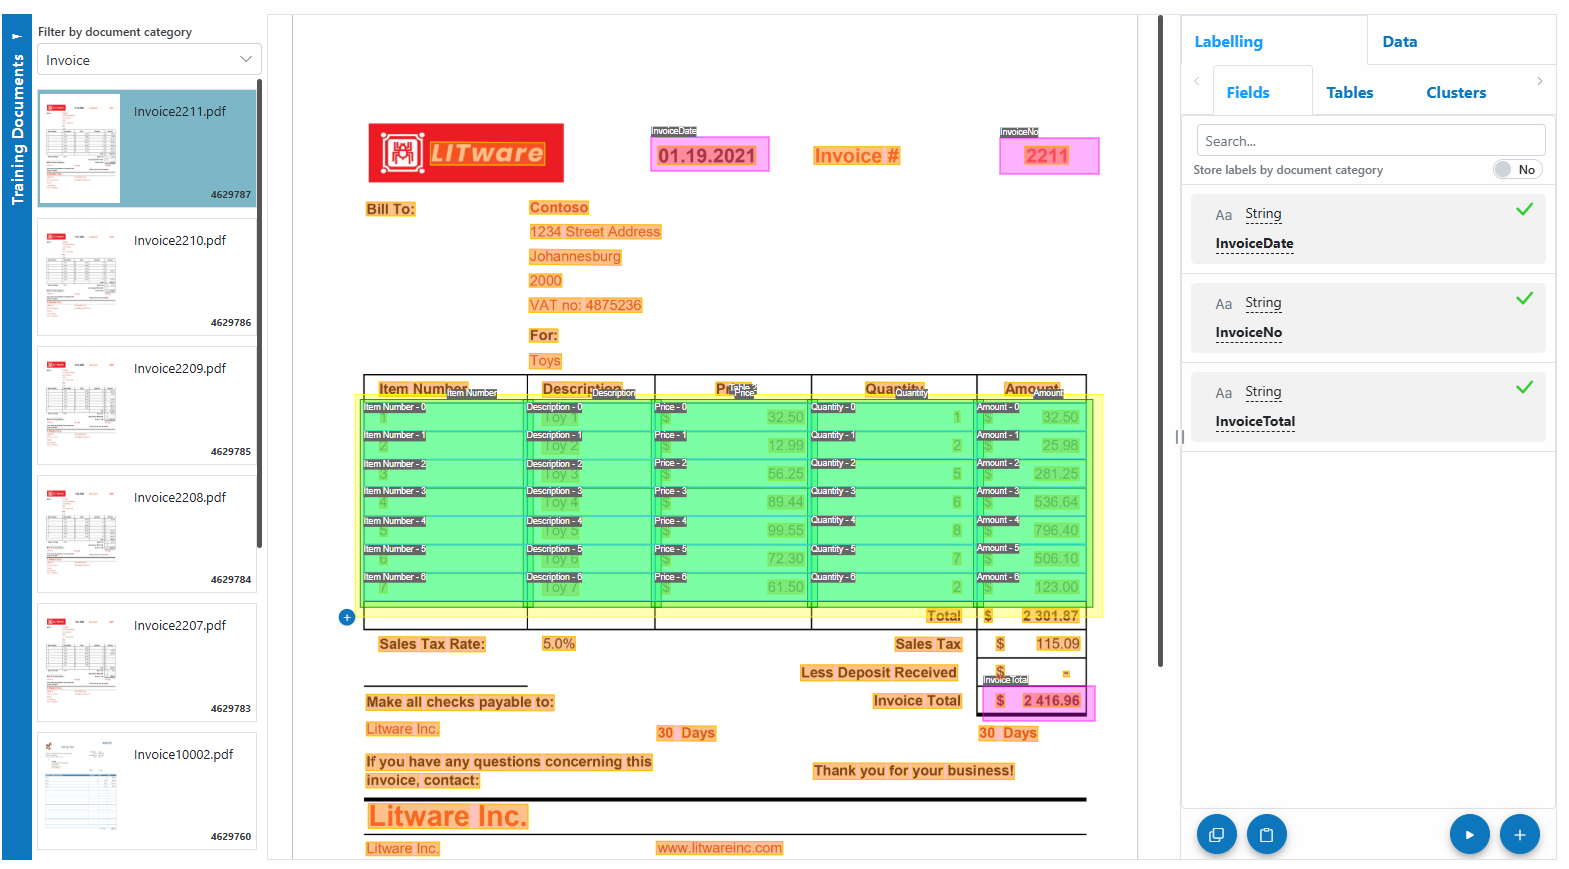
Labelling is a crucial step for training the Document Intelligence extraction engine. Here’s how to label fields effectively:
- Open the Labelling Step
Go to Step 5: Labelling in the wizard.
-
Select Document Category
Use the filter to select the document category whose documents you want to label.Info
Only documents that have already been analyzed in Step 4 will be available for labelling.
-
Select a Document
Choose a document from the list to begin labelling.
- Label Fields on the Document
Select an existing label definition from the right panel, or create a new label by clicking the + button.
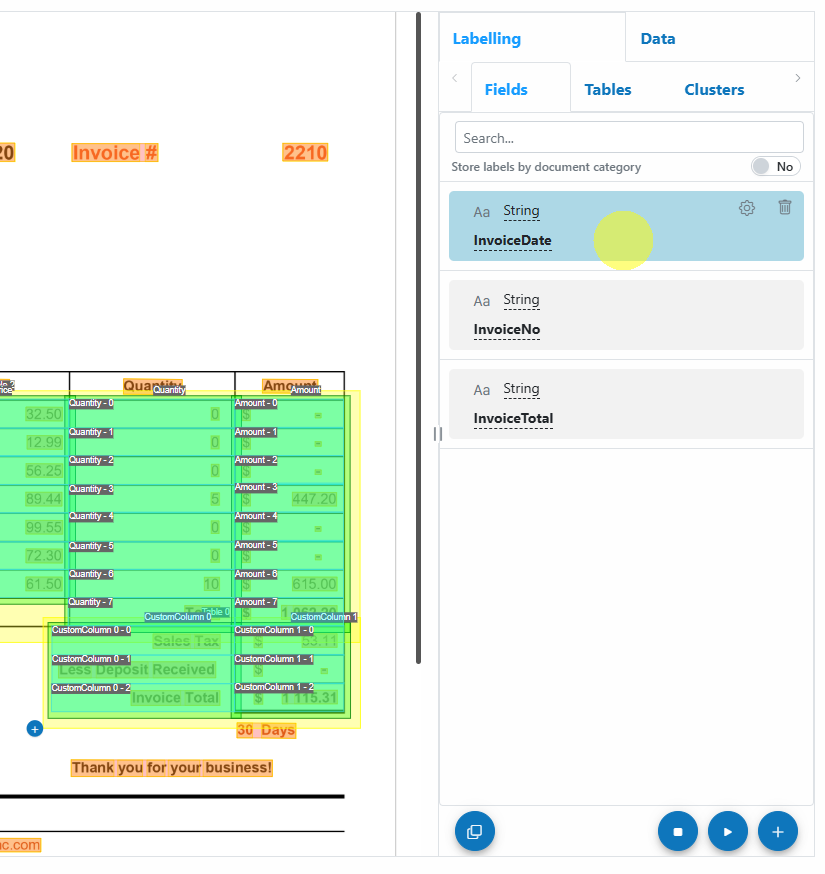
Draw the label on the document by clicking and dragging over the relevant field.
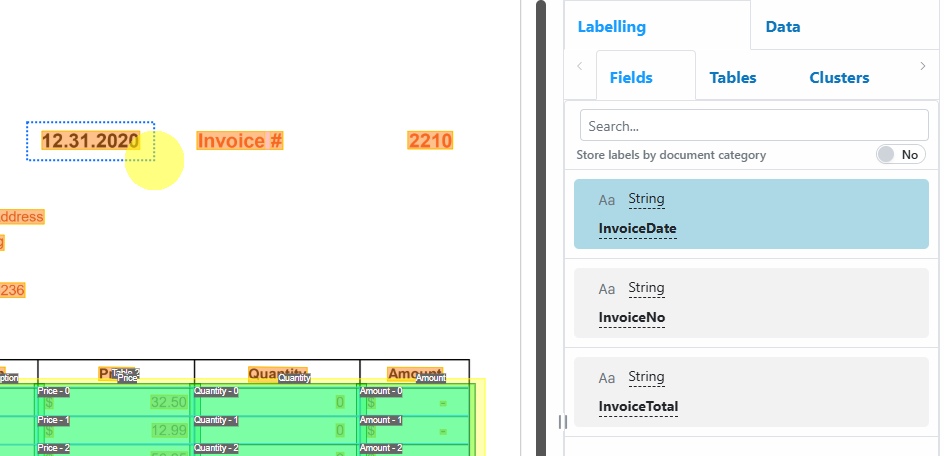
Once labelled, it will automatically select the next available label definition. Press Tab to navigate through available labels.
Fields you label are highlighted in magenta; provider-generated fields are shaded green/yellow.
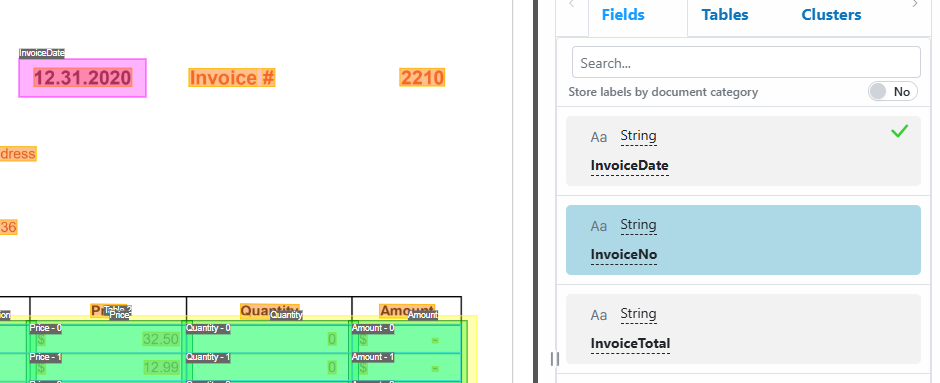
Label definitions with a green check mark have been successfully labelled on the document. - Labelling Controls
- Start Labelling:
Press Ctrl+S or click the Start Labelling button.
 - Stop Labelling:
Press Esc, Ctrl+S, or click the Stop Labelling button.
 - Resume Labelling:
While still on the same document, press Ctrl+S or click the Continue Labelling button to continue where you left off.
- Start Labelling:
- Copy & Paste Labels
- Copy all labels from a completely labelled document by clicking Copy Labels to Clipboard
 .
. - Paste labels onto a different document using Paste Labels from Clipboard
 .
.
- Copy all labels from a completely labelled document by clicking Copy Labels to Clipboard
Info
Well-labelled documents accelerate model training and improve extraction accuracy. Consistent labelling across documents is key!
Service Configuration Settings
The Microsoft Document Intelligence Service provides flexible settings to tailor the service to your workflow. Common settings include:
| Setting | Description |
|---|---|
| Enabled | Enable or disable this service. |
| Password | For service authentication. Can be set per document or via custom code. |
| Base URL | The URL to your Azure Document Intelligence service. |
| Execute On Trigger | Define when to execute (e.g., on upload, update, or delete). |
| ArchivingStrategy | Number of days before documents are deleted. |
| BatchSize | Number of documents processed per batch (usually hidden/advanced). |
| DocumentProcessedStatus | Status label for processed documents. |
| EnableSelectionMarks | Save selection marks (checkboxes, etc.) detected by the API. |
| EnableTableDetection | Save tables detected in the document. |
| MatchHeadingLevenshteinConfidence | Use fuzzy matching for table headers, improving extraction from poor-quality scans. |
| MinimumColumnMatchCount | Minimum column matches required for table mapping. |
| MatchTablesWithSameColumnCount | Match tables by column count when headers are not repeated. |
| RemoveComments | Remove human comments from the document. |
| SaveOCRLayout | Save OCR layout, including lines and words. |
| WorkflowAlgorithm | Assign workflow algorithms for document verification. |
| WorkflowDocument | Enable document workflow features. |
| WorkflowShred | Enable document shred workflow. |
| WorkflowGracePeriod | Grace period before workflow escalation. |
To upload and process documents using the Google Forms Parser:
- Open Service
In the Microsoft Document Intelligence Service, click the Upload button or drag and drop files over the document grid.
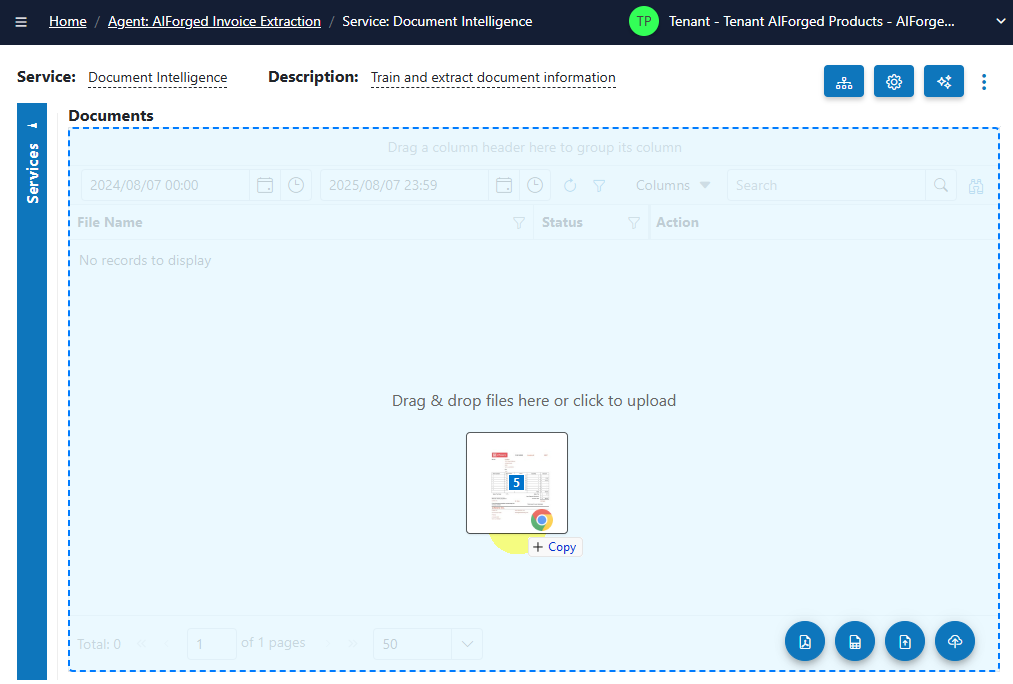
- Select Category (Optional)
If you know the category for the document, select it. Otherwise, select No category. - Process Documents
After uploading, select the documents to process and click on the Process button.
Info
Tip: For new services, process a small batch first to verify the results before scaling up.
View Processed Documents
- Select Outbox in the usage filter in the Microsoft Document Intelligence Service.

- Open any processed document to view and verify the extracted results.
Troubleshooting Tips
- Missing or Incorrect Data?
- Ensure uploaded documents are clear and legible. Poor quality scans or images reduce extraction accuracy.
- Confirm that the file type is supported (PDF, JPEG, PNG, TIFF, etc.).
- Complex or highly stylized layouts may require more careful labelling and analysis.
- Tables or Key-Value Pairs Not Extracted?
- Make sure tables and fields are clearly structured in your documents.
- Use the labelling and analysis steps to improve model accuracy.
- Upload or Processing Errors?
- Try re-uploading the document or using a different sample to rule out file-specific issues.
- If errors persist, check your service settings or contact support.
- Performance Issues?
- Large document batches may take longer to process. Start with smaller batches to ensure responsiveness.
Best Practices
- Use high-quality scans or digital originals for best extraction results.
- Label and categorize documents accurately to improve model performance.
- Regularly review and update your definition documents as forms or layouts evolve.
- Migrate from Form Recognizer to Document Intelligence for ongoing support and access to the latest features.