Document Intelligence – Custom Invoices
Overview
The Document Intelligence – Custom Invoices service in AIForged extends Microsoft Document Intelligence, adding advanced features for invoice extraction—such as automatic Vendor and Business Unit detection via configurable datasets and enhanced Line Items table detection. These capabilities enable highly accurate invoice processing, tailored to complex business needs.
Info
Custom Invoices improves accuracy for multi-vendor and multi-business unit environments, and makes line item extraction more flexible and robust for diverse invoice formats.
Supported Content Types
- Images (JPEG, PNG, TIFF, etc.)
Info
If your content is in a different format, use the AIForged PDF Converter to generate a compatible file.
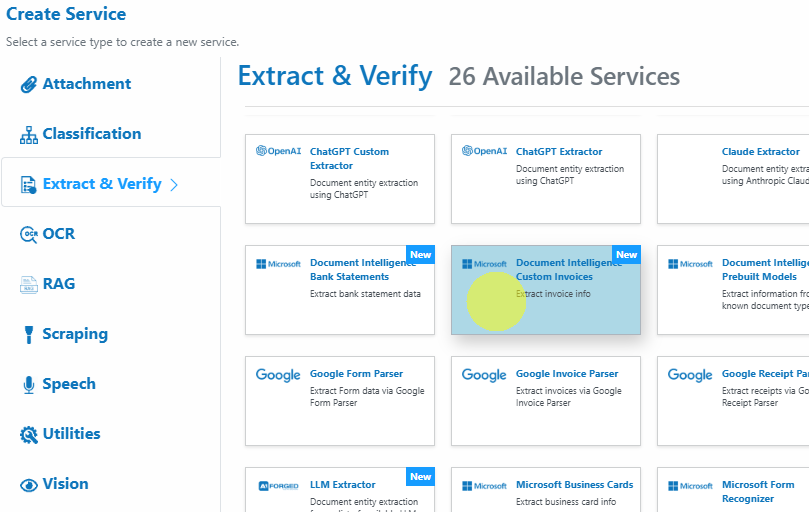
Possible Use Cases
- Extract and validate invoice data across multiple vendors and business units.
- Automate accounts payable workflows with vendor/BU matching.
- Extract detailed line-item tables, even from non-standard invoice formats.
- Improve downstream financial reconciliation and reporting.
Service Setup
Follow these steps to add and configure the Custom Invoices service to your agent:
- Open the Agent View:
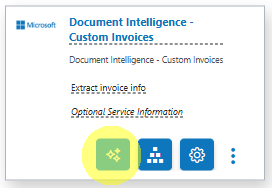
Navigate to the agent where you want to add the service. - Add the Custom Invoices Service:
Click the Add Service button.
 - Select Service Type:
Choose Document Intelligence – Custom Invoices from the available service types.
-
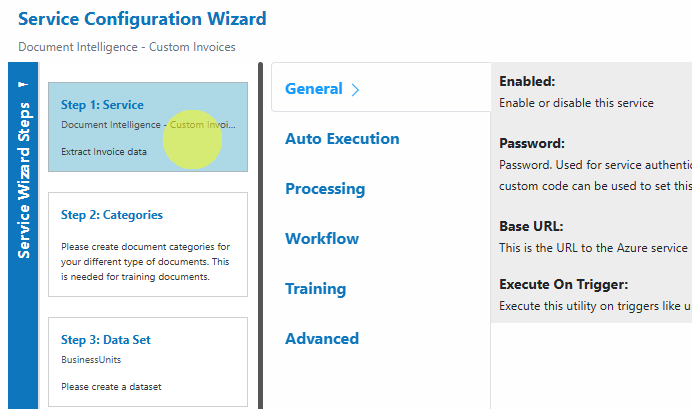
Configure the Service Wizard:
Open the Service Configuration Wizard.
or

-
Step 1: Service:
Configure core service settings (enable/disable, authentication, Azure endpoint, etc.).
Default settings are sufficient for most use cases.
-
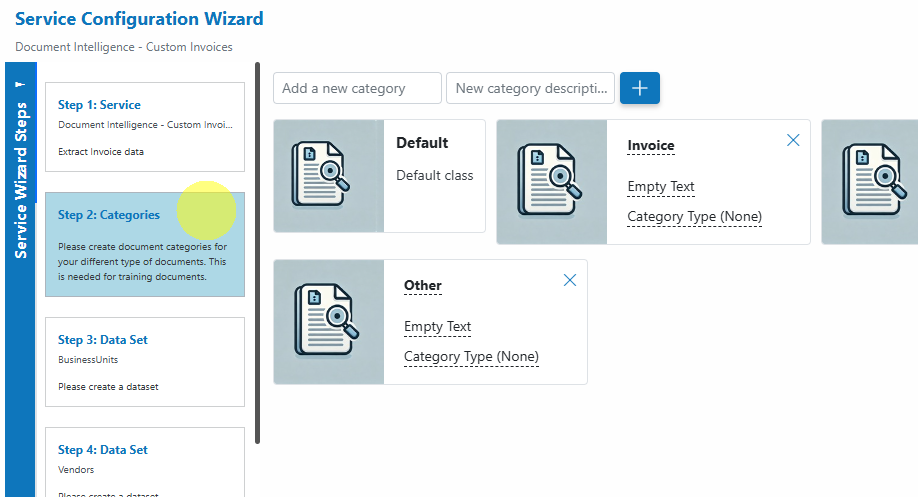
Step 2: Categories:
Define document categories for your invoice types.
These are required for classification and training.
-
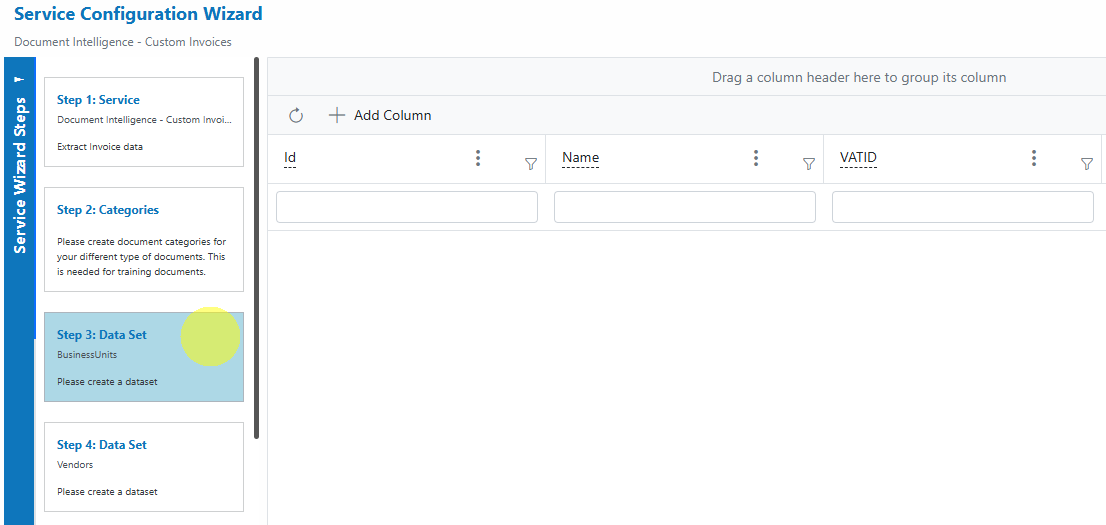
Step 3: Data Set (Business Units):
Configure your Business Unit dataset.
Each entry should include at least an Id (unique numerical value), Business Unit name and VAT/Tax number (VATID).
-
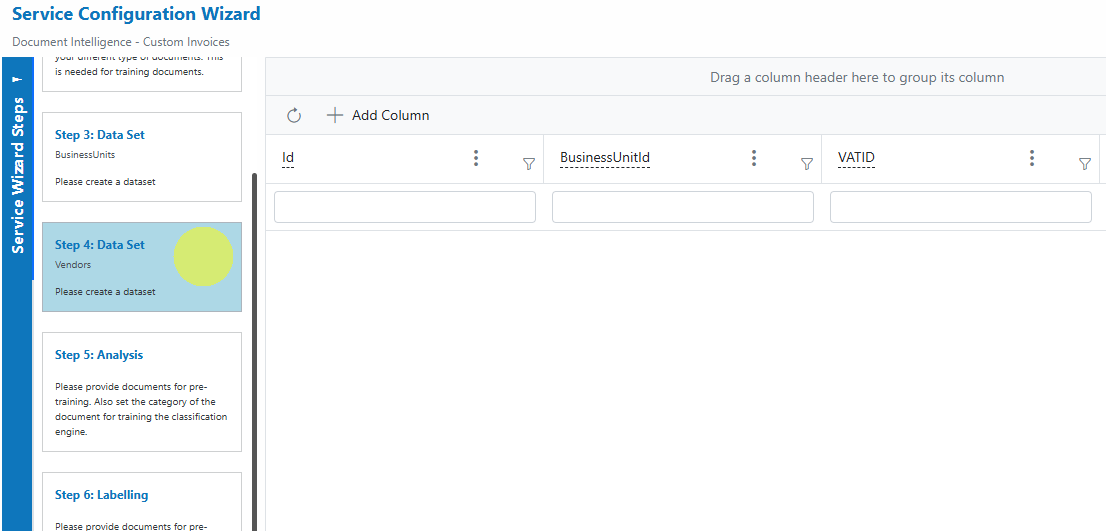
Step 4: Data Set (Vendors):
Configure your Vendor dataset.
Populate with an Id (unique numerical value), Vendor Name and VAT/Tax number (VATID) for accurate matching.
-
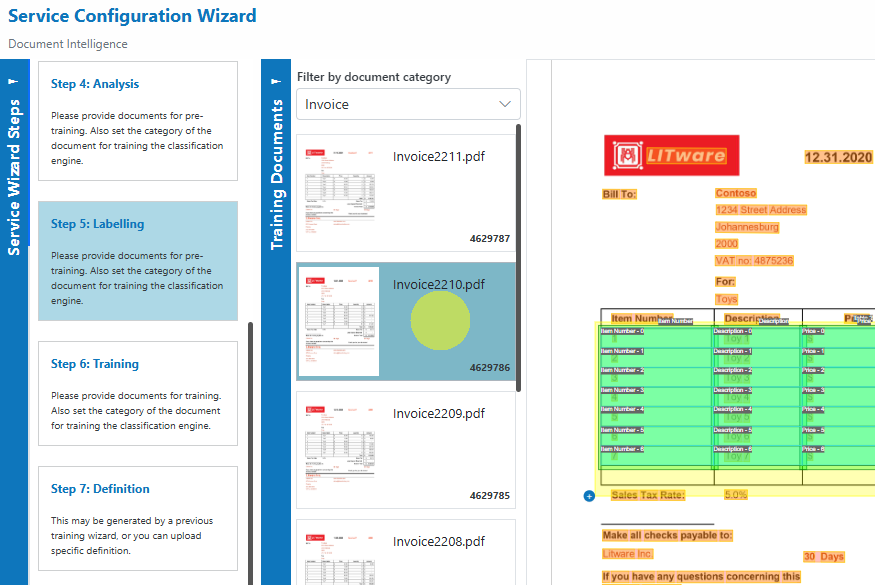
Step 5: Analysis:
Upload invoices for pre-training and analysis.
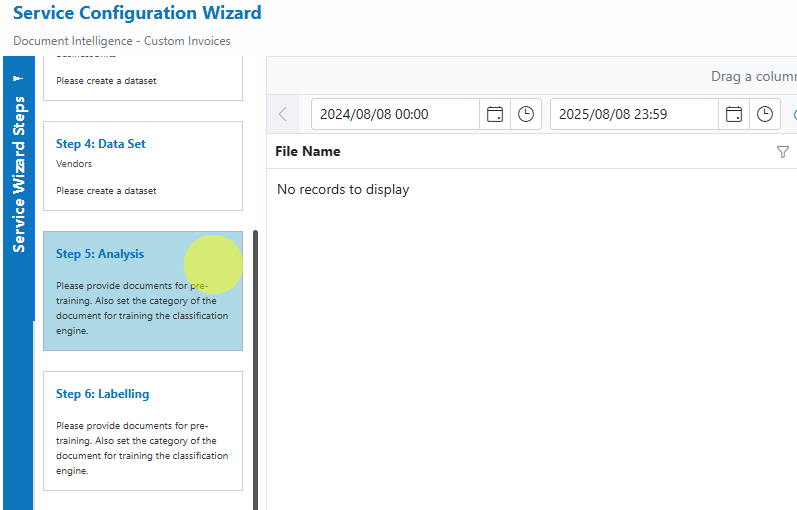
Info
Assign the correct document category during upload for effective classification and model training.
-
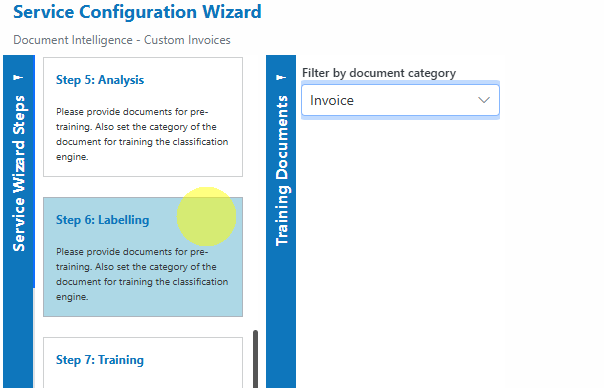
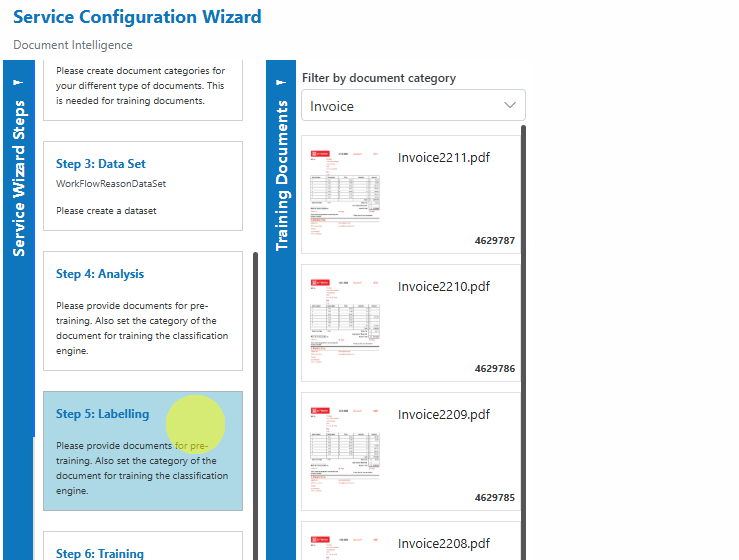
Step 6: Labelling:
Label all required fields on sample invoices.
Labelling the line items table is optional.
If you label it, override detection in the document category training options.
-
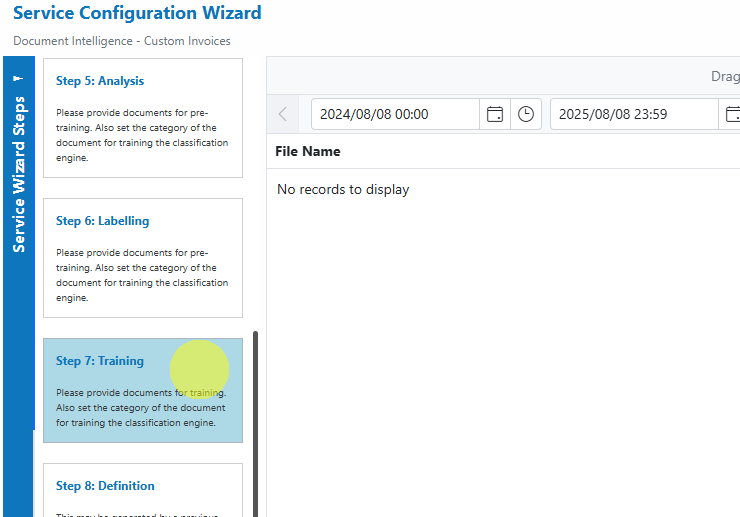
Step 7: Training:
Train labelled documents.
-
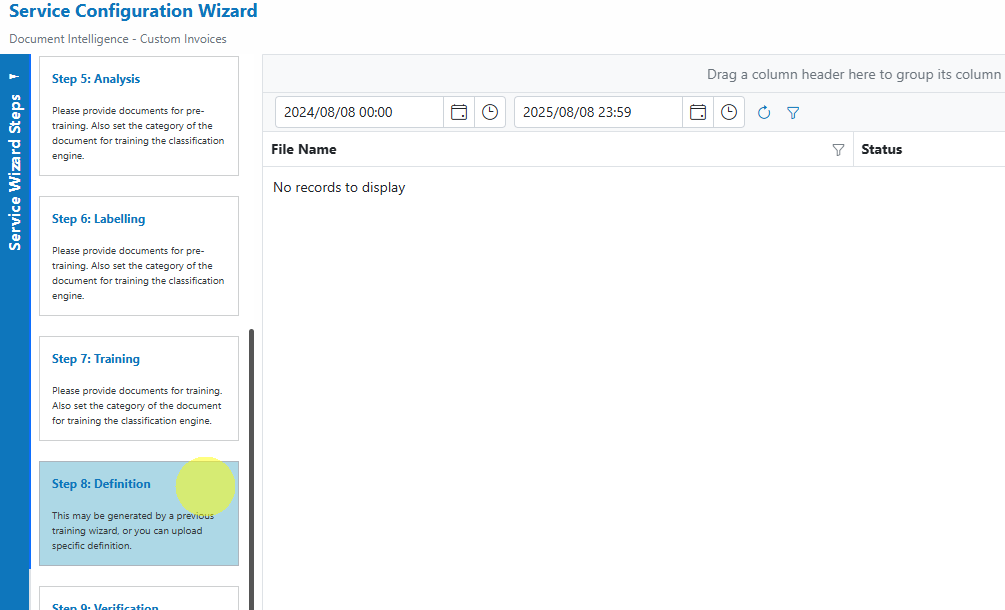
Step 8: Definition:
After successful training, a definition document will be created.
-
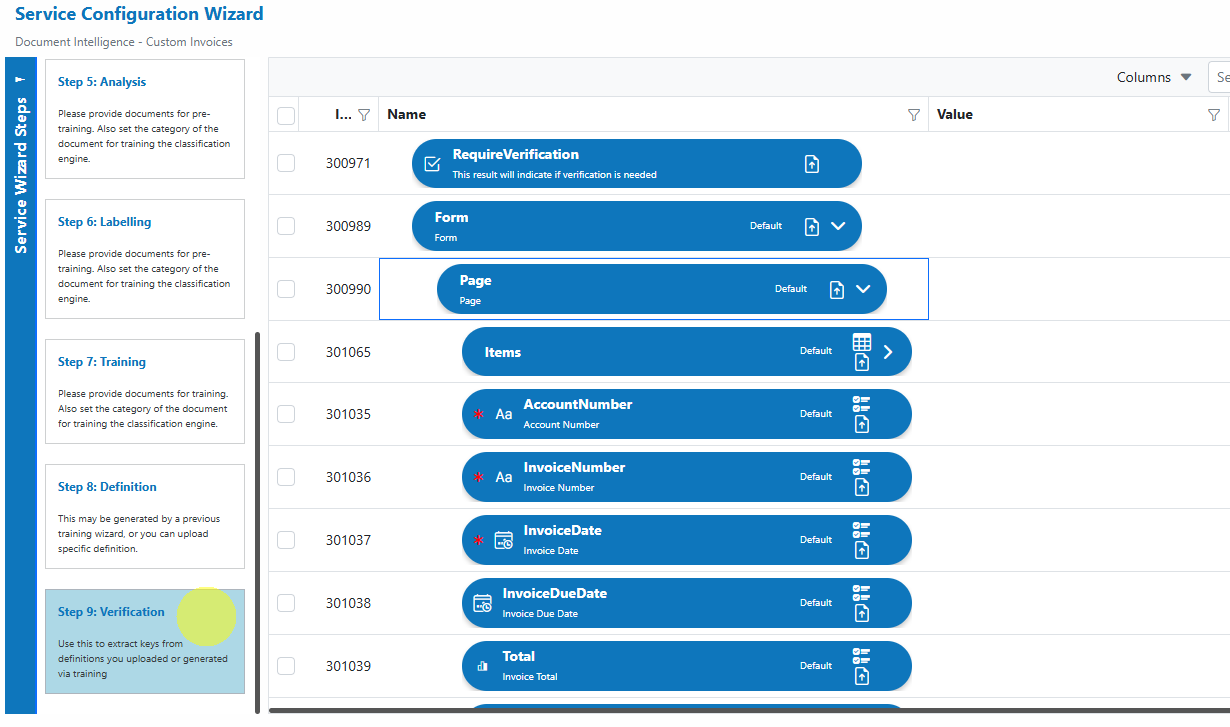
Step 9: Verification:
Verify and adjust the keys/fields extracted during training.
-
Service Configuration Settings
Most users can proceed with the default settings. Advanced configuration allows you to tailor the service for complex invoice workflows, including:
- Vendor and Business Unit dataset mapping
- Table detection and override rules (see below)
- Workflow integration for verification or exception handling
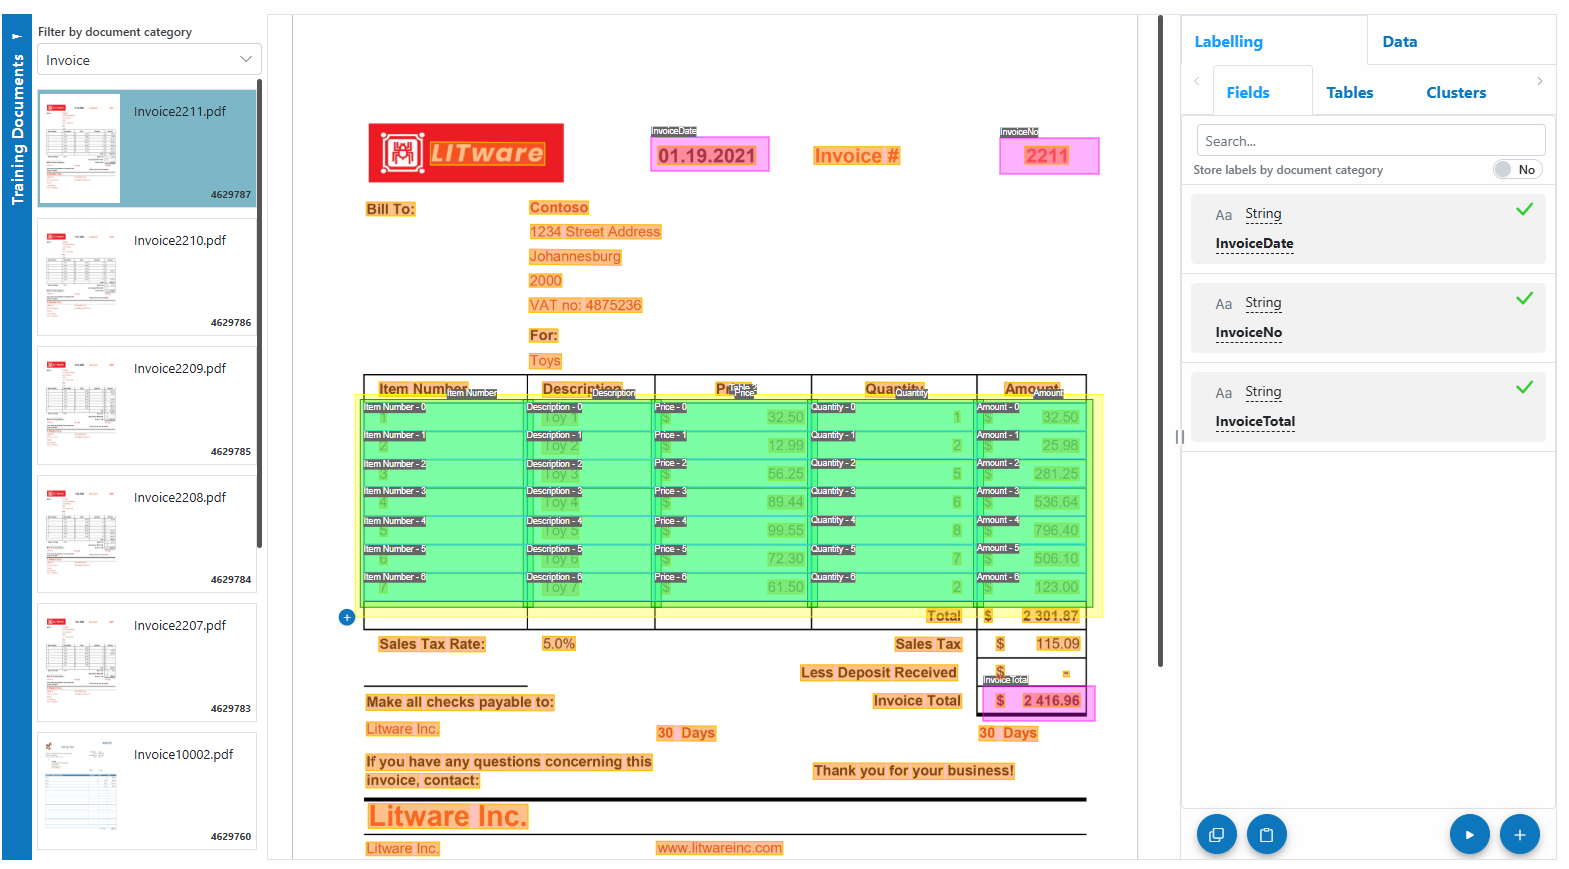
Field Labelling Workflow
Labelling is a crucial step for training the Document Intelligence extraction engine. Here’s how to label fields effectively:
-
Open the Labelling Step:
Go to Step 5: Labelling in the wizard.
-
Select Document Category:
Use the filter to select the document category whose documents you want to label.Info
Only documents that have already been analyzed in Step 4 will be available for labelling.
-
Select a Document:
Choose a document from the list to begin labelling.
- Label Fields on the Document
Select an existing label definition from the right panel, or create a new label by clicking the + button.
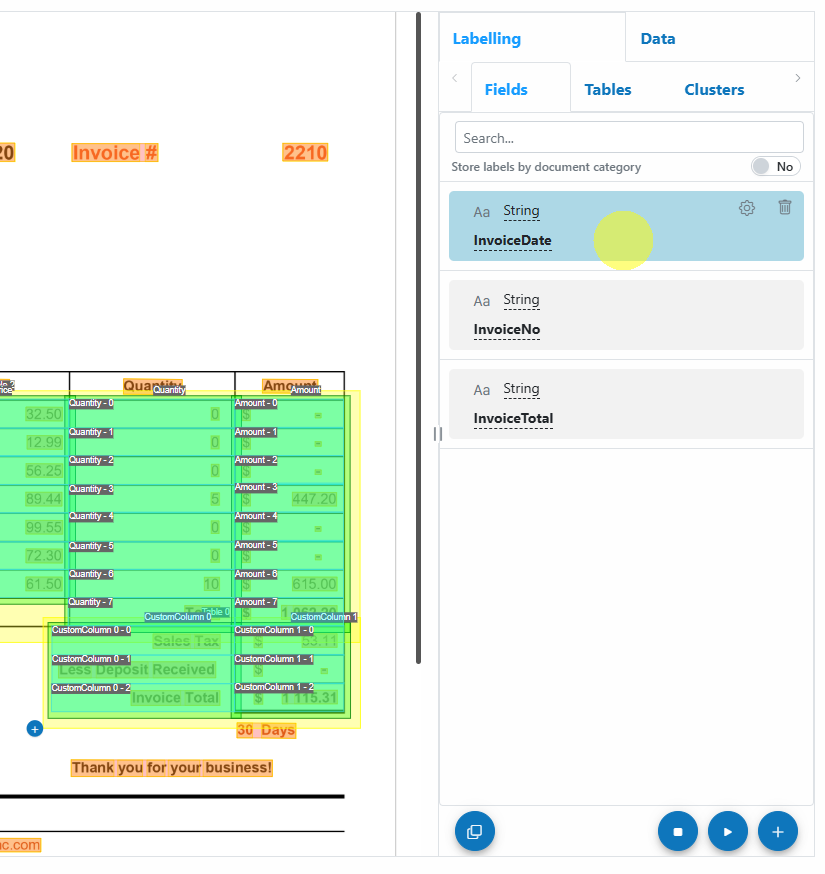
Draw the label on the document by clicking and dragging over the relevant field.
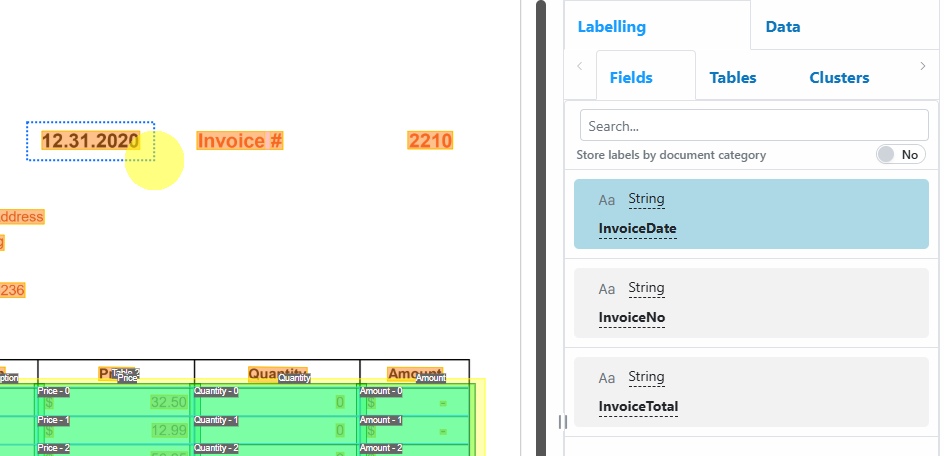
Once labelled, it will automatically select the next available label definition. Press Tab to navigate through available labels.
Fields you label are highlighted in magenta; provider-generated fields are shaded green/yellow.
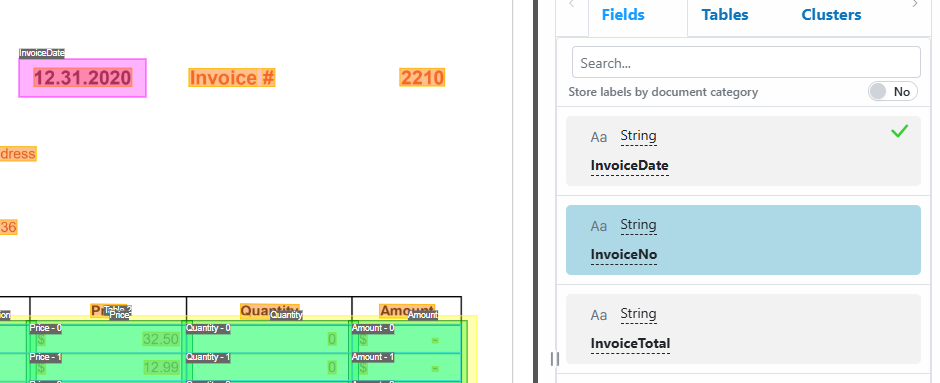
Label definitions with a green check mark have been successfully labelled on the document. - Labelling Controls
- Start Labelling:
Press Ctrl+S or click the Start Labelling button.
 - Stop Labelling:
Press Esc, Ctrl+S, or click the Stop Labelling button.
 - Resume Labelling:
While still on the same document, press Ctrl+S or click the Continue Labelling button to continue where you left off.
- Start Labelling:
- Copy & Paste Labels
- Copy all labels from a completely labelled document by clicking Copy Labels to Clipboard
 .
. - Paste labels onto a different document using Paste Labels from Clipboard
 .
.
- Copy all labels from a completely labelled document by clicking Copy Labels to Clipboard
Info
Well-labelled documents accelerate model training and improve extraction accuracy. Consistent labelling across documents is key!
Add and Process Documents
To upload and process invoices using Custom Invoices:
- Open Service:
In the Custom Invoices service, click the Upload button or drag and drop files over the document grid.
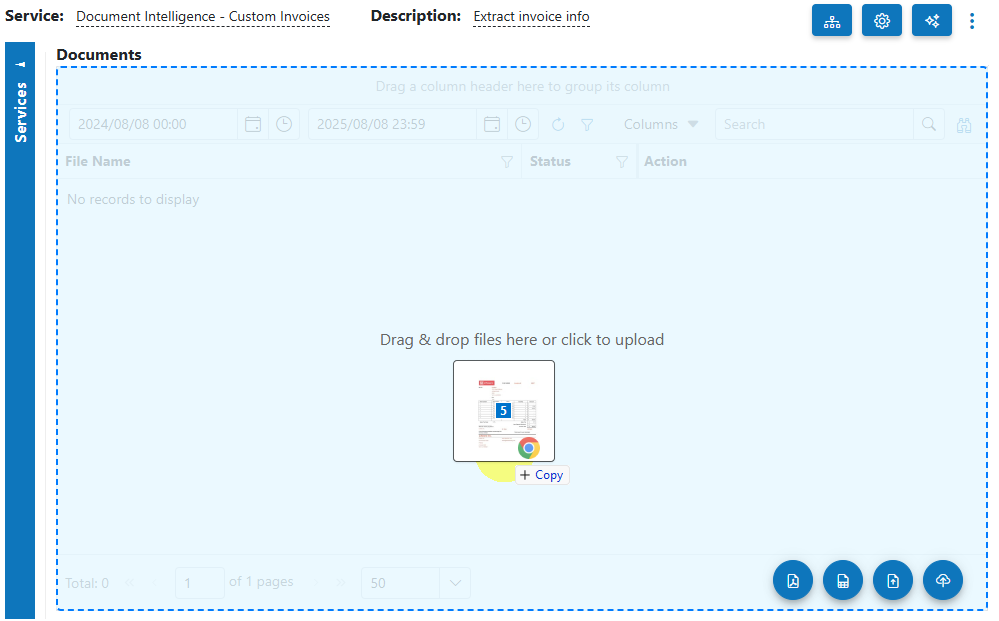
- Select Category (Optional):
If you know the category for the invoice, select it. Otherwise, select No Category. - Process Documents:
After uploading, select the invoices to process and click on the Process button.
Info
Tip: For new services, process a small batch first to verify results before scaling up.
Vendor & Business Unit Detection
Before sending an invoice to Document Intelligence for extraction, the service checks your Vendor and Business Unit datasets to match relevant metadata (such as Vendor Name and VAT/Tax number). This enables:
- Automated selection of the correct extraction model (rather than relying on Document Intelligence composed models)
- Improved accuracy for invoices across multiple vendors or business units
Info
Ensure your Vendor and Business Unit datasets are kept up to date for best results.
Line Items Table Detection & Overrides
- Automatic Detection:
The service automatically identifies the line items table by matching common column names (e.g., Description, Quantity, Price). - Fine-Tuning:
Add additional Tags to your column label definitions to improve detection accuracy. - Category-Level Overrides:
If you label the line items table, you must override the detection in the document category training options by specifying the table name (e.g., "Items"). This is configurable per document category.
Info
Labelling the line items table is optional. If you do label it, always set the override in the category’s training options to ensure correct extraction.
View Processed Documents
- Select Outbox in the usage filter in the Custom Invoices service.

- Open any processed invoice to view and verify the extracted results, including vendor, business unit, and line items.
Troubleshooting Tips
- Vendor/BU Not Detected?
- Ensure the relevant datasets are populated and up to date.
- Verify that invoices include Vendor/BU identifiers (name, VAT/Tax number).
- Line Items Table Not Detected?
- Check that your column names match detection rules or have the correct tags.
- If you’ve labelled the table, make sure the override is set in the document category training options.
- Missing or Incorrect Data?
- Ensure invoices are clear and legible.
- Double-check document categories and dataset mappings.
- Upload or Processing Errors?
- Try re-uploading or use a different sample to rule out file-specific issues.
- Review configuration settings or contact support for advanced troubleshooting.
- Performance Issues?
- Processing large batches may take longer. Start with smaller batches to ensure responsiveness.
Best Practices
- Keep Vendor and Business Unit datasets accurate and regularly updated.
- Use consistent column naming and tagging for better table detection.
- If you have diverse invoice layouts, test with samples from each vendor/business unit.
- Regularly review extracted results for continuous improvement.