👤 Role Member Management
Effectively managing members within roles is crucial for maintaining secure and organized access to your agents and their services in AIForged. Once you have set up your groups and roles, you can assign members to roles to grant them the appropriate access, or remove members to revoke their permissions. This helps you ensure that only the right people have access to your organization’s AI agents and related services at any given time.
Adding Members to a Role
Info
Assigning a member to a role shares access to the agent and all its services with that member.
Steps to Add a Member to a Role
-
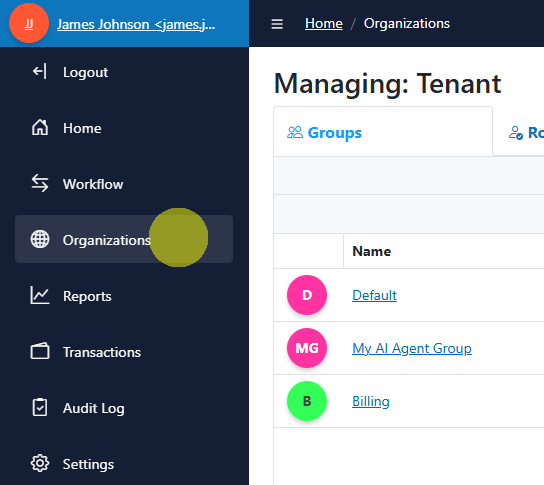
Navigate to Organisations
- Go to the Organisations section in AIForged.
-
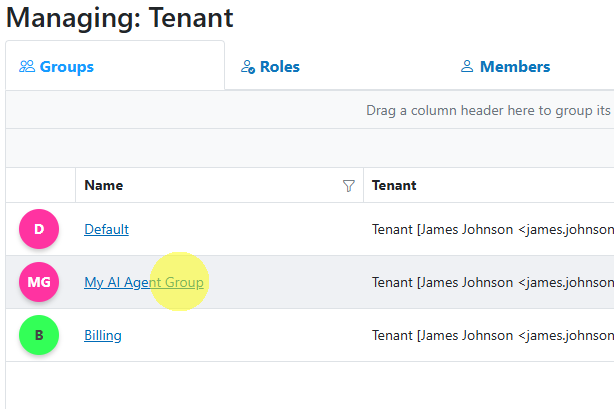
Select the Group
- Find and select the group containing the role you want to manage. Click on its name to open the management view.
-
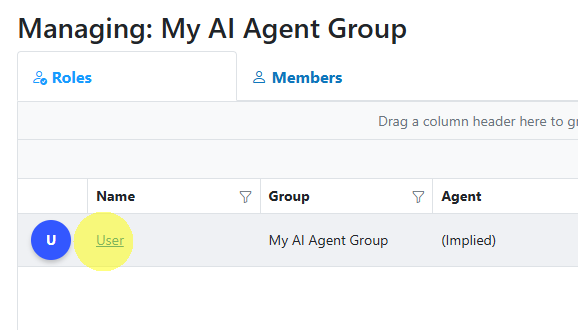
Select the Role
- Click on the role to which you want to add members. This will open the role management view.
-
Open the Add Member Dialog
- Click the
 button to open the member dialog.
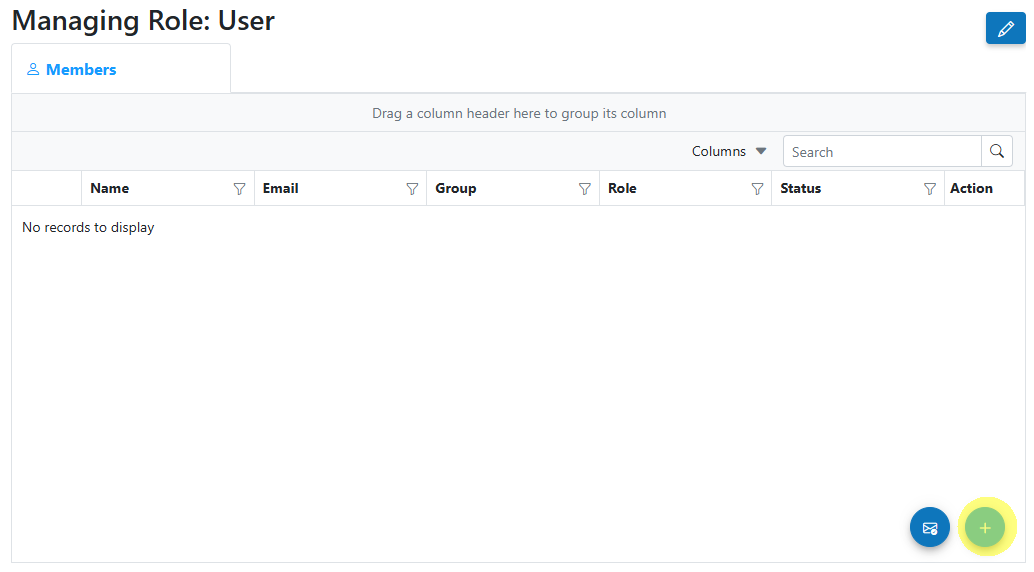
- Click the
-
Choose How to Add a Member You have three options for linking a member to a role:
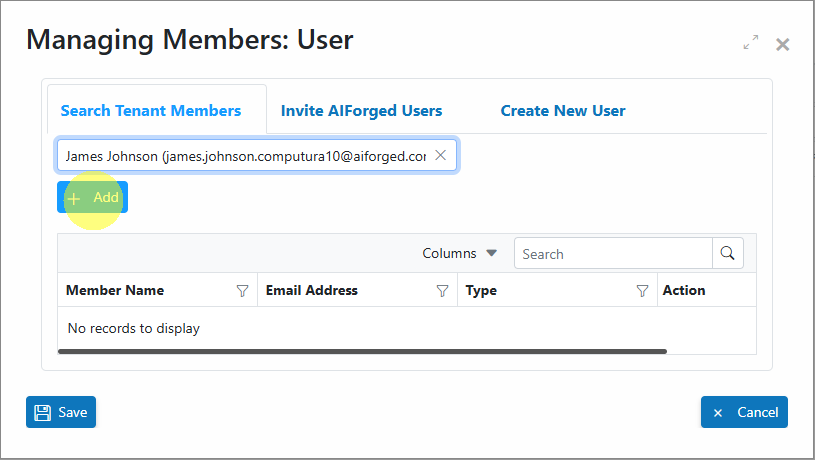
- Link an Existing Member from the Current Tenant Group:
- Ensure the Search Tenant Members tab is selected.
- Enter the member’s name or email address to search.
- Select the member to link and click Add.
- This will queue the member to be linked; they will be added once you click Save.
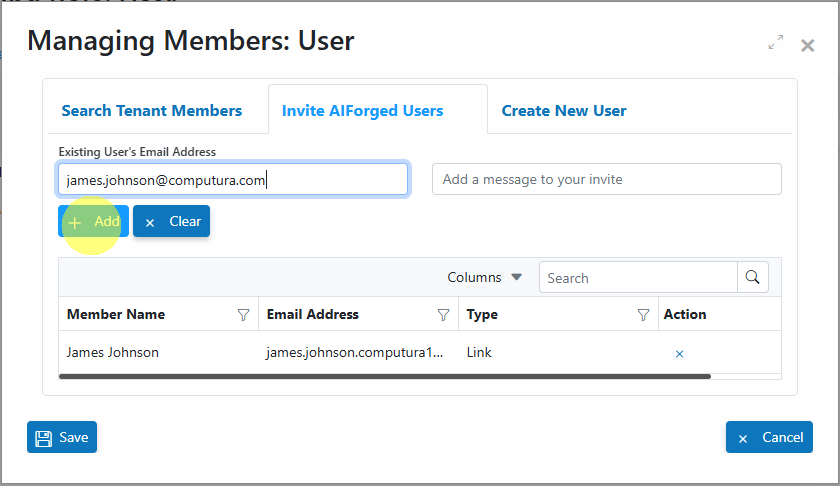
- Invite an Existing AIForged User to Become a Member:
- Select the Invite AIForged Users tab.
- Enter the user’s email address and (optionally) an invite message.
- Click Add.
- The user will be queued for invitation and linked as a member once you click Save.
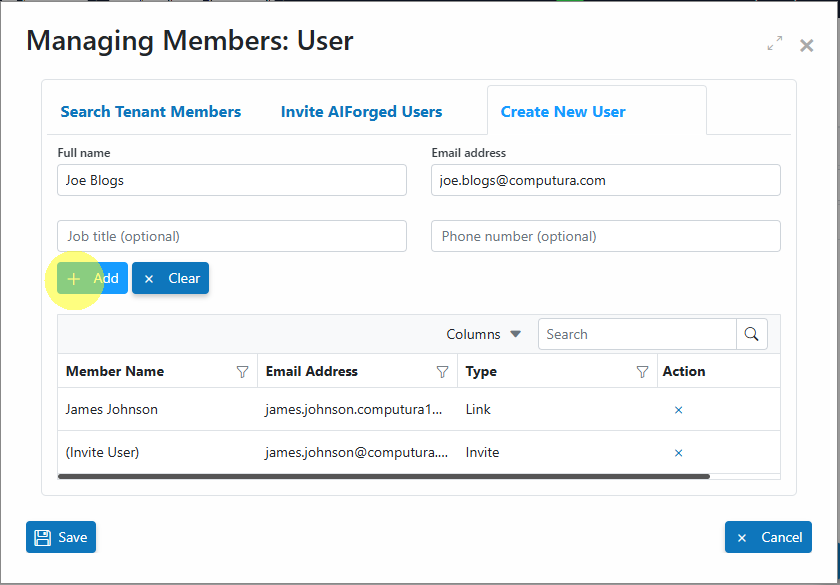
- Create a New Member:
- (Tenant administrators or owners only)
- Select the Create New User tab.
- Enter the new member’s details:
- Full name
- Email address
- Job title (optional)
- Phone number (optional)
- Click Add.
- The member will be queued for creation and linking; you may receive a security prompt when you click Save.
- Link an Existing Member from the Current Tenant Group:
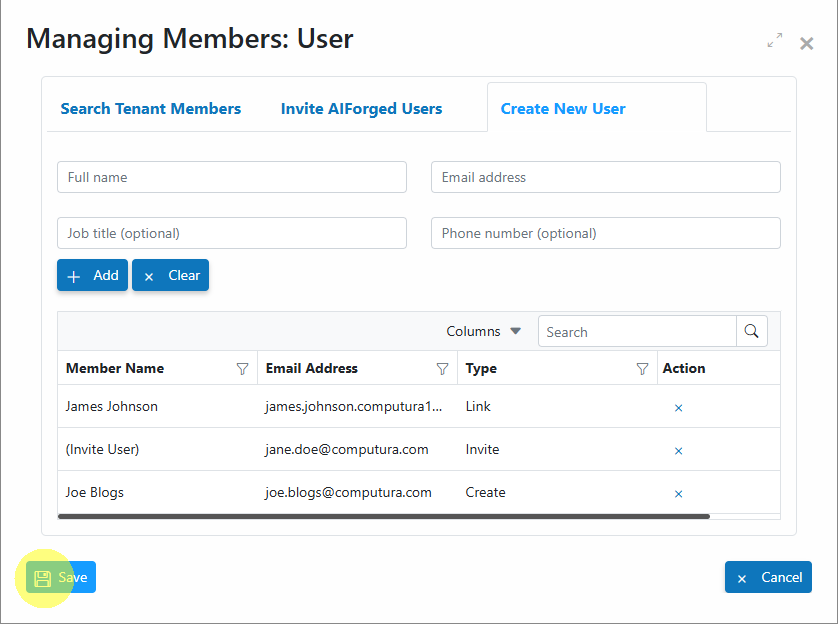
- Save Changes
- Click Save to finalize the addition of all queued members to the role.
Removing Members from a Role
Removing a member from a role will immediately revoke their access to the associated agent and all its services.
Steps to Remove a Member from a Role
- Navigate to Organisations
- Go to the Organisations section in AIForged.
- Select the Group
- Find and select the group containing the relevant role.
- Select the Role
- Click on the role from which you want to remove members to open the role management view.
- Find the Member
- Use the search function or scroll to locate the member you wish to remove.

- Open the Member Options
- Click the More options action button next to the member’s name.
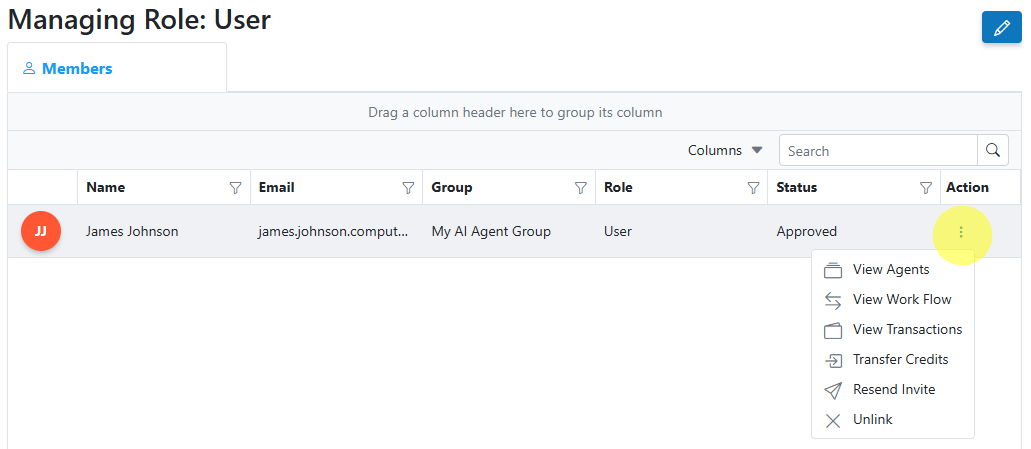
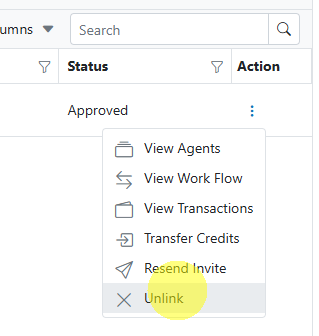
- Select Remove
- Click the Remove or Unlink option to remove the member from the role.
Tips and Best Practices
Info
Regularly review role memberships to ensure only authorized members have access to critical agents and services.
Info
Use descriptive names for roles and groups to make management clearer as your organization grows.
Info
When inviting or creating new members, double-check email addresses and permissions to prevent accidental access issues.